Simple Servo Control: A Guide to Basic Techniques and Applications
What is a Servo Motor (and Why Should You Care)?
A servo motor is a little device that can rotate to a specific position — and stay there. Think of it like a robot’s arm joint, or a steering wheel that knows exactly how far to turn. You send it a signal, and it turns to that angle. Simple as that.
Servos are used in all kinds of tech — from RC cars and robotic arms to camera gimbals and even automated cat feeders (yep, that’s a thing). What makes them cool is that they don’t just spin endlessly like regular motors. They move to a position you tell them to, and hold it there.
For beginners, this makes servos super fun to experiment with. You can control them easily with just a few lines of Arduino code, and start building interactive projects that move — without needing an engineering degree.
Quick Servo Facts:
📐 Most basic hobby servos rotate about 180 degrees (half-circle)
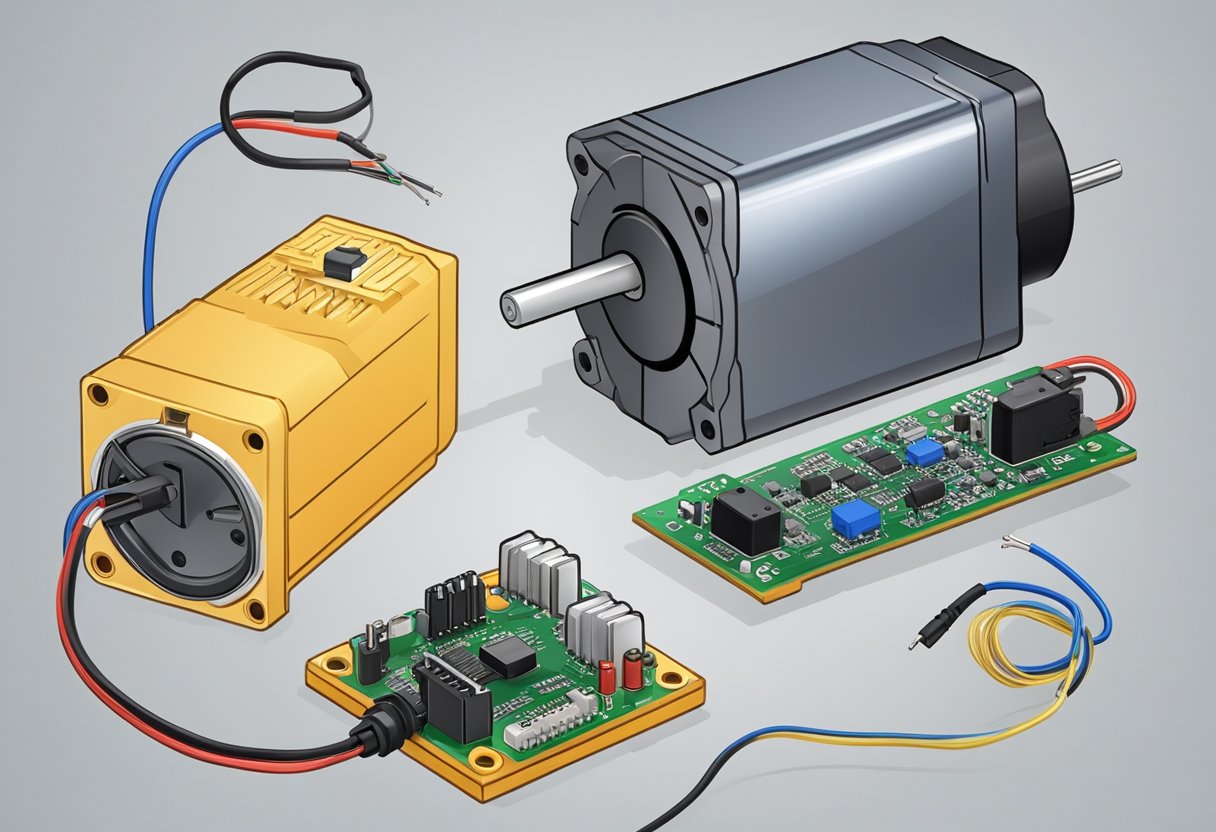
🔌 They usually have 3 wires: Power (red), Ground (black/brown), and Signal (white/orange/yellow)
🧠 The “brain” inside the servo reads your signal and moves the motor to match it
By the end of this guide, you’ll know how to wire one up, control it with Arduino, and start bringing your tech creations to life.
What You’ll Need to Get Started
Before we dive into wiring things up and writing code, here’s a quick checklist of what you’ll need. Good news: it’s a short list, and most of this stuff is beginner-friendly and affordable.
🧰 Parts List:
- Arduino board (Uno, Nano, or any model will work)
- Servo motor (like the SG90 — cheap and perfect for learning)
- Jumper wires
- Breadboard (optional, but handy for clean wiring)
- External power source (optional but recommended) – especially if you’re using multiple servos
Tip: Some servos can draw more power than the Arduino’s 5V pin can safely provide. If your servo jitters or acts weird, try using an external 5V source (like a battery pack or USB power supply) and share the ground with your Arduino.
🖥️ Software:
- Arduino IDE – You can download it free from arduino.cc
- Servo library – This comes pre-installed with the IDE, so no extra setup needed.
That’s it! Now that you’ve got the gear, let’s get into how it all works behind the scenes…
Understanding Servo Motors
How Servo Motors Work (In Plain English)
Alright, so what’s actually going on inside that little plastic box with the spinning arm?
A servo motor is a self-contained system that includes:
- A motor (to make it move)
- A gearbox (to slow it down and give it precision)
- A position sensor (to know where it’s pointing)
- A controller (the little brain that listens to your commands)
When you send a signal to the servo, it checks where it’s supposed to go, moves to that position, and then holds it there — like magic. But instead of actual magic, it’s controlled by something called PWM.
⏱ What’s PWM?
PWM stands for Pulse Width Modulation — fancy name, simple idea. You’re basically sending the servo a repeating signal that says, “Hey, point to this angle.”
- A short pulse = move to one end (0°)
- A medium pulse = center (90°)
- A longer pulse = other end (180°)
You don’t need to memorize the timing — the Arduino Servo library handles all of that for you.
Think of it like giving your servo a walkie-talkie: you send a message like “go to 45 degrees,” and it moves exactly where you told it to go.
📏 Most hobby servos move:
- From 0° (fully left)
- To 180° (fully right)
Some servos rotate further or continuously, but for this guide, we’ll stick with the basics — a standard servo that turns back and forth within a 180° range.
Controlling Servos with Arduino
Wiring It All Together
Time to bring your servo to life! Don’t worry — hooking it up to your Arduino is super straightforward. Here’s how to connect a basic 3-wire servo like the SG90:
🔌 Servo Wire Colors (Typical for SG90):
- Brown or Black = Ground (GND)
- Red = Power (VCC or +5V)
- Orange or Yellow = Signal (goes to your Arduino pin)
🛠️ How to Connect:
| Servo Wire | Connect To Arduino |
|---|---|
| Brown/Black | GND |
| Red | 5V |
| Orange/Yellow | Digital Pin 9 (or any PWM-capable pin)* |
*Most servos will work best on digital pins that support PWM — Pin 9 is the default in most Arduino examples, but you can use others.
🔄 Optional: External Power
If your servo is jittery or not responding well, it might need more juice. You can use an external 5V power source (like 4 AA batteries or a USB power bank). Just be sure to connect the ground (GND) from your Arduino to the power source ground too — that keeps everything talking nicely.
📷 Wiring Diagram (Add This Image)
You could add a simple wiring diagram here using Canva or Fritzing, showing the servo connected to Arduino UNO with 3 wires.
With everything wired up, your servo is ready to receive its first command!
Next up: Let’s write some code and make that servo move. Want me to handle that section too, with copy-paste-ready code and explanations?
Let’s Make It Move! (Your First Servo Sketch)
Now that your servo is connected, it’s time to write some simple Arduino code to make it move. We’ll use the built-in Servo library — no extra installs needed.
Here’s a basic sketch to get your servo swinging back and forth:
cppCopyEdit#include <Servo.h>

Servo myServo;  // Create a servo object

void setup() {
  myServo.attach(9);  // Connect servo to pin 9
}

void loop() {
  myServo.write(0);    // Move to 0 degrees
  delay(1000);         // Wait 1 second
  myServo.write(180);  // Move to 180 degrees
  delay(1000);         // Wait 1 second
}
🔍 What’s Happening Here?
#include <Servo.h>– Adds the servo library so we can control it easily.myServo.attach(9);– Tells the Arduino which pin your servo is connected to.myServo.write(angle);– Sends your servo to the angle you specify (0 to 180).delay(1000);– Pauses for a second (1000 milliseconds) before the next move.
🧠 Tip: If your servo doesn’t move or just twitches, double-check your wiring and make sure you’re using a solid power source. Some USB ports don’t deliver enough current.
🎯 Try This: Sweep from 0° to 180° Gradually
Want to see smoother motion? Replace your loop() with this:
cppCopyEditvoid loop() {
  for (int angle = 0; angle <= 180; angle++) {
    myServo.write(angle);
    delay(15);
  }
  for (int angle = 180; angle >= 0; angle--) {
    myServo.write(angle);
    delay(15);
  }
}
This will sweep the servo slowly back and forth, one degree at a time. It’s oddly satisfying to watch, and a great way to test how accurate your servo is.
Frequently Asked Questions
What Can You Build with a Servo? (Project Ideas to Try Next)
Now that you’ve made your first servo move, the fun’s just getting started. Servo motors are like little robot muscles — and once you know how to control them, your projects can really come to life.
Here are a few beginner-friendly ideas to try next:
🤖 1. Mini Robot Arm
Build a simple 2- or 3-joint arm using servos and cardboard. Control it with buttons, sliders, or even joystick input. Great for learning about multi-servo coordination!
☀️ 2. Light-Tracking Solar Panel
Use photoresistors and a couple of servos to create a mini solar tracker. It’ll follow the light throughout the day — just like real solar farms do.
🧙 3. Magic Wand Switch
Wave a toy wand (or press a hidden button) to make something move: open a book, raise a flag, or reveal a secret message. Kids love this one.
🕹️ 4. Servo-Controlled Camera Mount
Make your phone or webcam pan left and right using a servo. Add a second servo for up and down movement, and you’ve got yourself a homemade gimbal.
🐾 5. Automated Pet Feeder
Use a servo to rotate a small chute or lid that drops a treat on command. Your cat will start to think you’re a genius (or a snack god).
🎯 Don’t worry about perfection — servo projects are all about experimenting and learning by doing. The more you tinker, the more ideas you’ll unlock.
Wrapping Up
Congrats — you’ve just taken your first step into the world of motion with Arduino and servo motors! You learned:
- What a servo motor is (and why it’s awesome)
- How to wire it up
- How to write simple code to control it
- A bunch of fun ideas to keep learning and building
Now it’s your turn — grab some parts, play with the code, and make something that moves. Whether it’s a robot, a gadget, or just a waving cardboard hand… you’re officially a maker now. 🙌
🛠️ Bonus: Helpful Links & Parts
Here’s a quick list of beginner-friendly parts you can grab online (Amazon affiliate links coming in handy here):
📥 Want More Projects Like This?
Sign up for my newsletter and get simple Arduino + tech projects delivered right to your inbox. No spam, just fun builds and creative ideas.