Telescope Motor Automation: Enhancing Precision and Efficiency in Astronomy
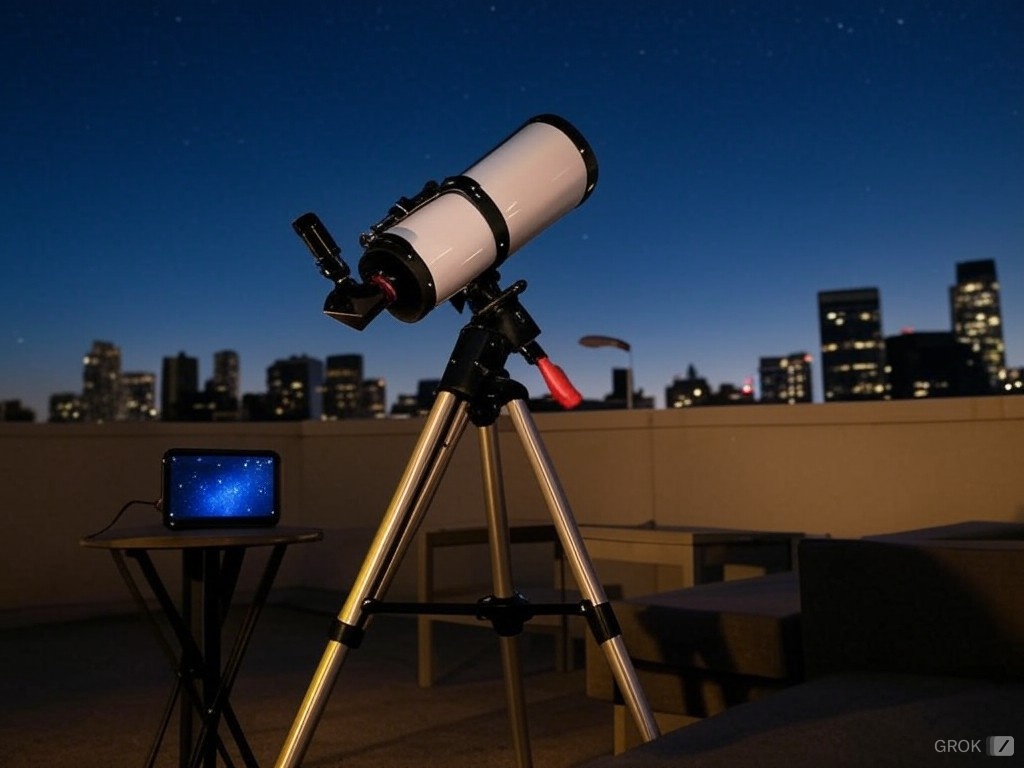
Telescope motor automation can significantly enhance the stargazing experience. By automating the movement of the telescope, users can observe celestial objects with precision and ease. This technology allows for smooth tracking while observing or photographing the night sky, ensuring that even small or faint objects remain in view.
For both amateur and professional astronomers, choosing the right equipment is essential for successful telescope automation. Advanced mounts such as the Advanced VX Mount demonstrate how motorisation can improve polar alignment and tracking accuracy. Pairing this hardware with effective astronomy software can streamline the entire observing process.
Key Takeaways
- Telescope motor automation enhances tracking and observation accuracy.
- Choosing the right mount is crucial for effective performance in astronomy.
- Proper software integration can simplify telescope operation and usage.
Understanding Telescope Automation
Telescope automation enhances the stargazing experience through motorised mounts and advanced software. This technology allows enthusiasts to focus on their observations and capture images without constantly adjusting their equipment. Key concepts include how motorised mounts operate, the advantages of automated tracking, and the integration of these systems with astrophotography software.
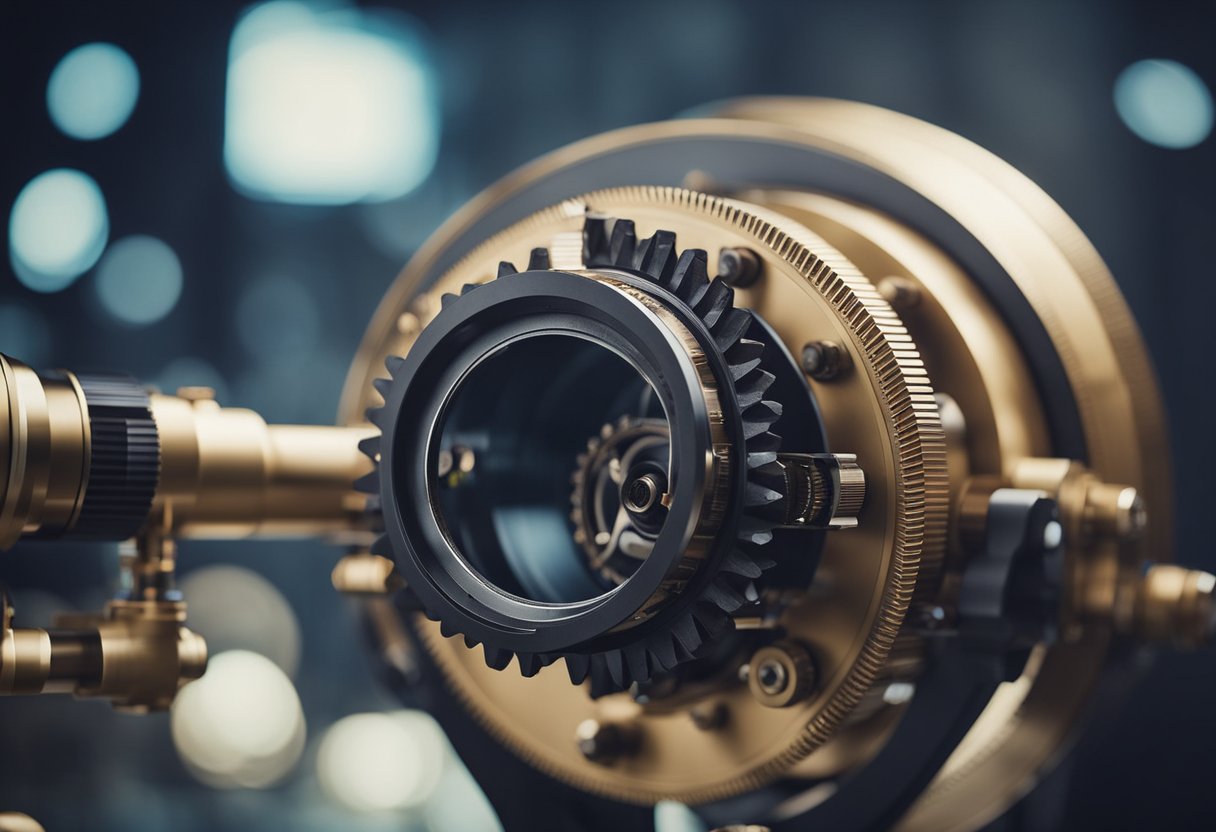
Fundamentals of Motorised Telescope Mounts
Motorised telescope mounts are designed to automatically track celestial objects as they move across the sky. This is essential for long observation sessions and astrophotography. These mounts often come with computerised GoTo capability, allowing users to select targets using a hand controller or software.
Celestron PWI Telescope Control Software provides a comprehensive interface for controlling these mounts. It can align the telescope and initiate tracking with accuracy. Many mounts offer Periodic Error Correction (PEC) to improve tracking precision over time, compensating for inherent mechanical errors.
Benefits of Automated Tracking
Automated tracking offers several advantages for astronomers. It allows them to concentrate on observing without constant manual adjustments, making stargazing more enjoyable and accessible. This technology is particularly beneficial for newcomers.
With motorised mounts, users can also engage in longer-duration observations, which is crucial for deep-sky viewing. This feature enables the maintenance of a stable field of view, thus improving the clarity of images captured during sessions.
Integration with Astrophotography
Integrating telescope automation with astrophotography software enhances the quality of captured images. Automated mounts help maintain the target in view, ensuring more detailed and consistent photographs. This is especially useful for taking long exposure shots.
Astrophotography software can control the timing of exposures and the movement of the telescope. This synergy allows for impressive images of celestial objects, from distant galaxies to close-up planetary shots. Users can optimise their settings based on real-time feedback, improving their overall experience.
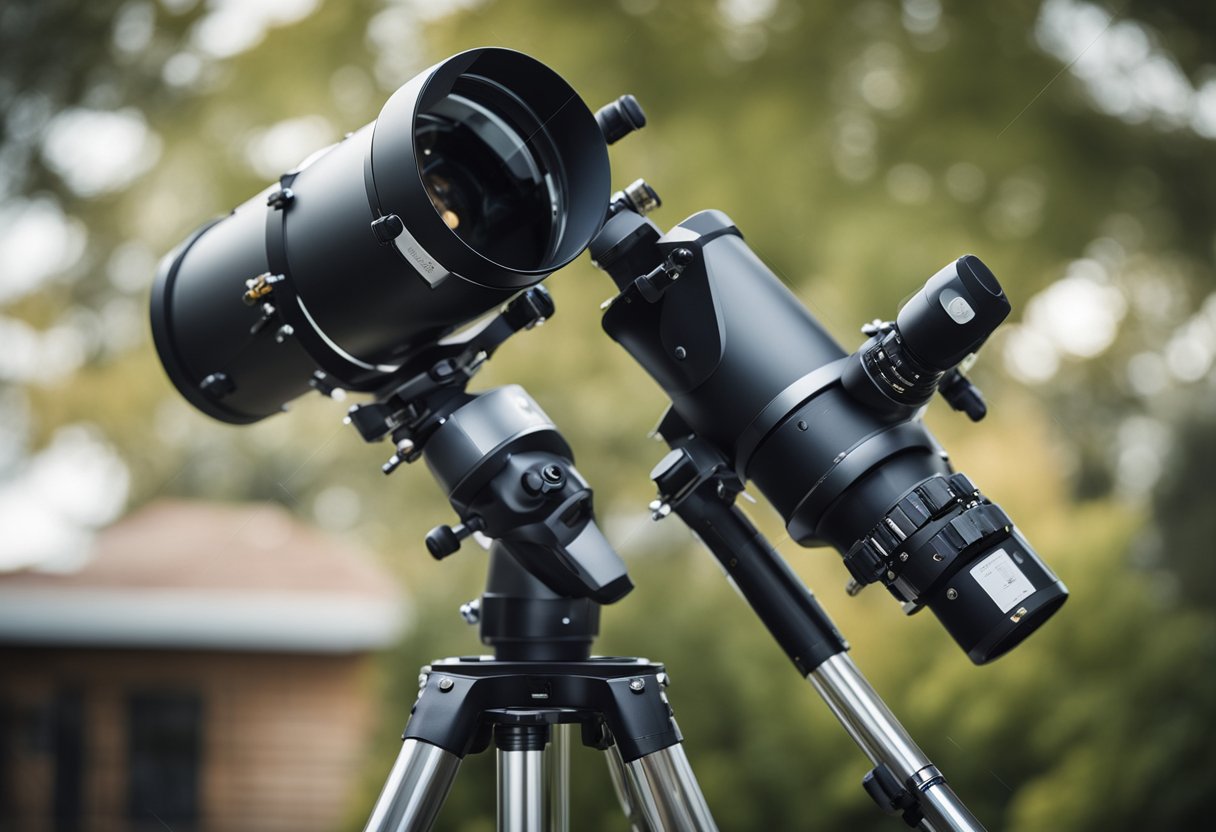
Choosing the Right Equipment
Selecting the right telescope equipment is essential for motor automation. Key aspects include the type of mount, optical design, and power management for extended observation sessions. Understanding these components will improve the overall experience in astrophotography and visual astronomy.
Essential Features of Automation-Compatible Mounts
When choosing a mount, consider compatibility with automation software like Celestron PWI or CPWI. A German Equatorial Mount (GEM) is often preferred for its stability and precise tracking. Features such as dual saddle plates allow for easy balancing of equipment.
Ensure the mount has USB ports for connection to computers and other devices. Some mounts also include variable power output ports, which enable controlling additional accessories effortlessly. Prioritising these features will enhance the telescope’s automation capabilities.
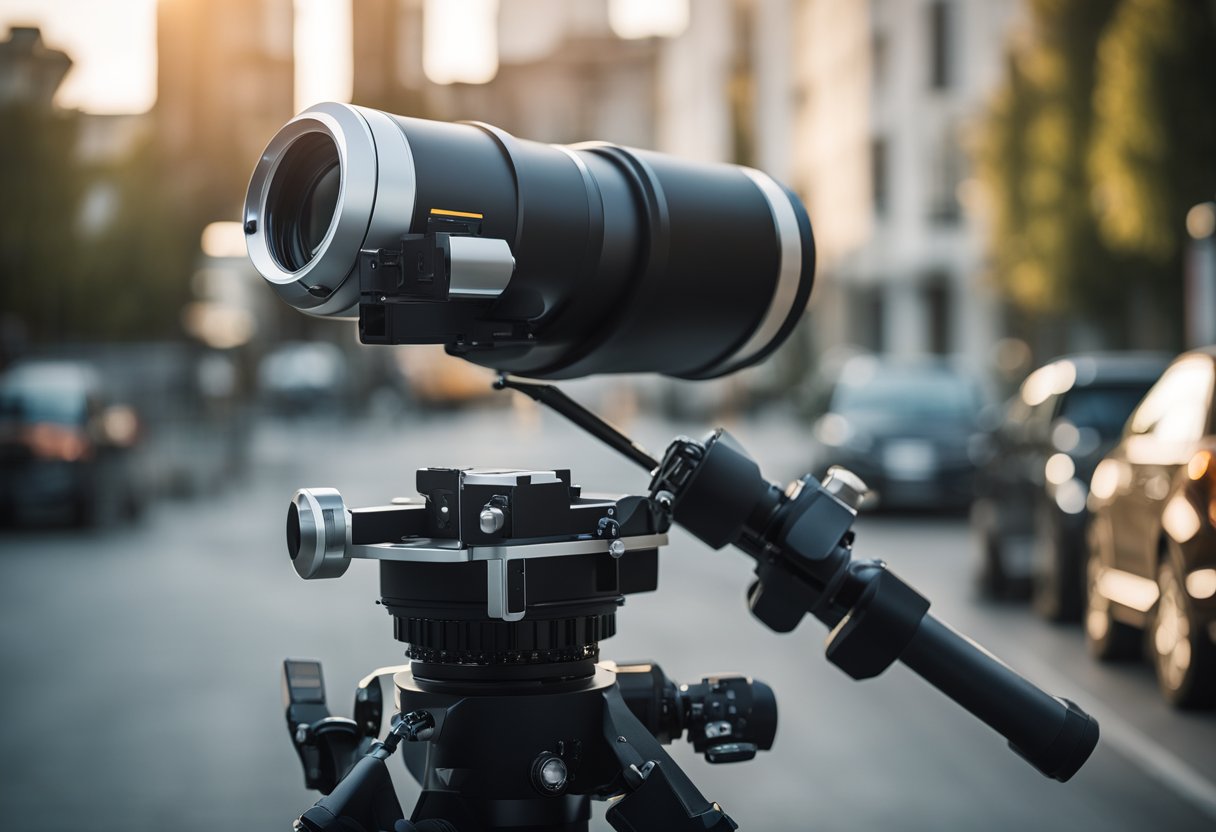
Telescope Optics and Equipment Selection
Selecting the right optics is crucial for effective automation. A good quality refractor or reflector telescope will deliver clear images suitable for capture during astrophotography sessions. Opt for models with lower focal ratios for wider fields of view.
It’s important to pair the telescope with an appropriate camera. For instance, using a CMOS camera designed for astrophotography can improve image quality and minimise noise. Consider additional accessories like filters to enhance specific targets, ensuring a versatile setup for various astronomical observations.
Power Management for Extended Sessions
Effective power management is vital for extended telescope use. A reliable power source ensures the mount, optics, and any attached devices run smoothly throughout the night. Invest in a high-capacity battery or a portable power supply that supports the telescope’s requirements.
Using variable power output ports allows for flexibility in connecting devices. This is particularly useful for powering cameras or other accessories. Proper planning and management of power needs can prevent interruptions during astrophotography sessions, allowing for uninterrupted and productive nights under the stars.
Calibration and Alignment
Calibrating and aligning a telescope are crucial for optimal performance in astronomical observations. Techniques vary, but successful alignment ensures that the telescope accurately points to celestial objects. Understanding the methods for polar alignment, periodic error correction, and the use of software aids is essential for achieving precision.
Accurate Polar Alignment Techniques
Accurate polar alignment is vital for tracking objects as they move across the night sky. One effective method is All-Star Polar Alignment. This technique simplifies the alignment process by allowing users to select a nearby star for calibration rather than strictly relying on the North Celestial Pole.
Another option is SkyAlign. With this method, the user aligns the telescope with three bright stars of their choice. The software will calculate the telescope’s position based on these references.
Both techniques aim to minimise tracking errors and improve the telescope’s ability to follow targets smoothly. Regular practice and familiarity with these methods can greatly enhance observing sessions.
Periodic Error Correction in Practice
Periodic error is a common issue in telescope mounts, especially those with gear-driven systems. To manage this, astronomers often utilise Periodic Error Correction (PEC). This technique involves recording the mount’s periodic error and then programming the telescope to counteract these errors during tracking.
PEC works by using the ASCOM Telescope Interface, which informs the telescope about the necessary adjustments. By calibrating the mount’s tracking routine, users can maintain accuracy over extended viewing periods.
Maintaining a record of periodic errors lets astronomers enjoy a more stable observation experience, improving both enjoyment and data collection quality.
Software Aid in System Calibration
Software tools play a significant role in telescope calibration. Programs like Starry Night Software provide a graphical planetarium interface, allowing users to visualise the night sky and plan their observing sessions effectively.
Such software often includes built-in calibration aids that assist in both alignment and tracking. They guide users through necessary procedures, making the process more intuitive.
Additionally, many telescopes can connect with other software via the ASCOM Telescope Interface. This connectivity allows for real-time adjustments and monitoring, enhancing the overall calibration process. Users can benefit greatly from these tools, as they significantly simplify complex calibrations, making astronomy more accessible.
Software Integration
Software integration is essential in enhancing telescope motor automation. It allows users to control telescopes more efficiently, navigate the night sky, and customise their setups. The right software can make astrophotography and observing more enjoyable and productive.
Control and Automation Software Options
A variety of software options are available for telescope control and automation. The Astronomy Software Suite stands out by offering a comprehensive package that includes features for controlling devices, capturing images, and managing complex sequences.
NexStar+ Hand Control provides a user-friendly interface for beginners. It enables users to navigate the sky with ease and manage telescope settings directly. For remote control, the SkyPortal App allows users to operate their telescopes via smartphones or tablets, providing connectivity through a USB-C port.
Automation software such as Voyager or NINA automates exposure sequences. Users can define targets and let the software handle the capturing process. This is particularly useful for remote astrophotography and long exposure work.
Navigating the Celestial Sphere with Stellar Catalogues
Effective navigation hinges on access to extensive astronomical catalogues. These catalogues contain detailed information about stars, galaxies, and other celestial objects, aiding in targeted observations.
Software that integrates these catalogues allows users to enter specific coordinates and locate celestial bodies efficiently. It also provides the necessary data for optimal viewing conditions.
A well-known catalogue is Messier, which offers a list of 110 astronomical objects for amateur astronomers. Users can cross-reference these objects with their telescope software, ensuring a smooth experience when stargazing.
Customisation and Accessory Control
Telescope software also supports customisation and accessory management. Users can connect various accessories, such as motorised focusers and filters, through a power distribution system.
For instance, integrating a filter wheel allows users to switch between filters seamlessly. Software can be programmed to queue specific accessories with each observation, enhancing efficiency.
In addition, many software options enable users to personalise settings based on their observing habits. This leads to a tailored experience, maximizing the telescope’s capabilities while catering to individual preferences.
Frequently Asked Questions
This section addresses common queries regarding advanced telescope motor automation systems. The answers will clarify essential considerations, the role of specific equipment, and calibration techniques vital for optimal performance.
What are the essential considerations when setting up advanced telescope motor automation systems?
When setting up advanced motor automation, one must consider compatibility with existing equipment. Different telescopes and mounts often require specific motorisation kits.
Power supply is also crucial, as a stable energy source ensures consistent performance. Additionally, software compatibility can affect how seamlessly the system integrates with the telescope.
How does PrimaLuceLab EAGLE CORE enhance astronomical imaging sessions?
The PrimaLuceLab EAGLE CORE centralises control of all devices during imaging sessions. It connects cameras, focusers, and mounts for streamlined operation.
This integration reduces the complexity of managing multiple devices separately. Users enjoy improved efficiency and can focus more on capturing high-quality images.
What are the advantages of using a flat field generator in astrophotography?
A flat field generator creates even illumination across the camera’s sensor. This ensures that any imperfections in the optical system are corrected.
Using a flat field generator leads to uniform brightness in images, making post-processing much easier. It helps in minimising vignetting and dust spots.
Can the PrimaLuceLab EAGLE 5 be integrated with other astrophotography accessories for an automated setup?
Yes, the PrimaLuceLab EAGLE 5 is highly versatile. It can be connected to various astrophotography accessories such as filter wheels and auto-focusers.
This capability allows for a fully automated imaging setup. Users can schedule their imaging sessions without constant manual adjustments.
What improvements does the EAGLE 5S offer over its predecessors in automated astrophotography rigs?
The EAGLE 5S features enhanced processing power and faster communication ports. These improvements lead to quicker responses and more reliable system performance.
Additionally, it includes upgraded software for better control over connected devices. This makes it easier to manage complex astrophotography tasks.
How does one effectively calibrate a flat field panel for optimal astrophotography results?
Calibrating a flat field panel involves adjusting the brightness and uniformity of the light it emits. Users should ensure the panel is at the correct distance from the camera.
Performing test shots and adjusting settings based on results is crucial. This process helps achieve the best results in image clarity and consistency for astrophotography.