DIY Light Pollution Meter with Arduino (Beginner-Friendly Guide)
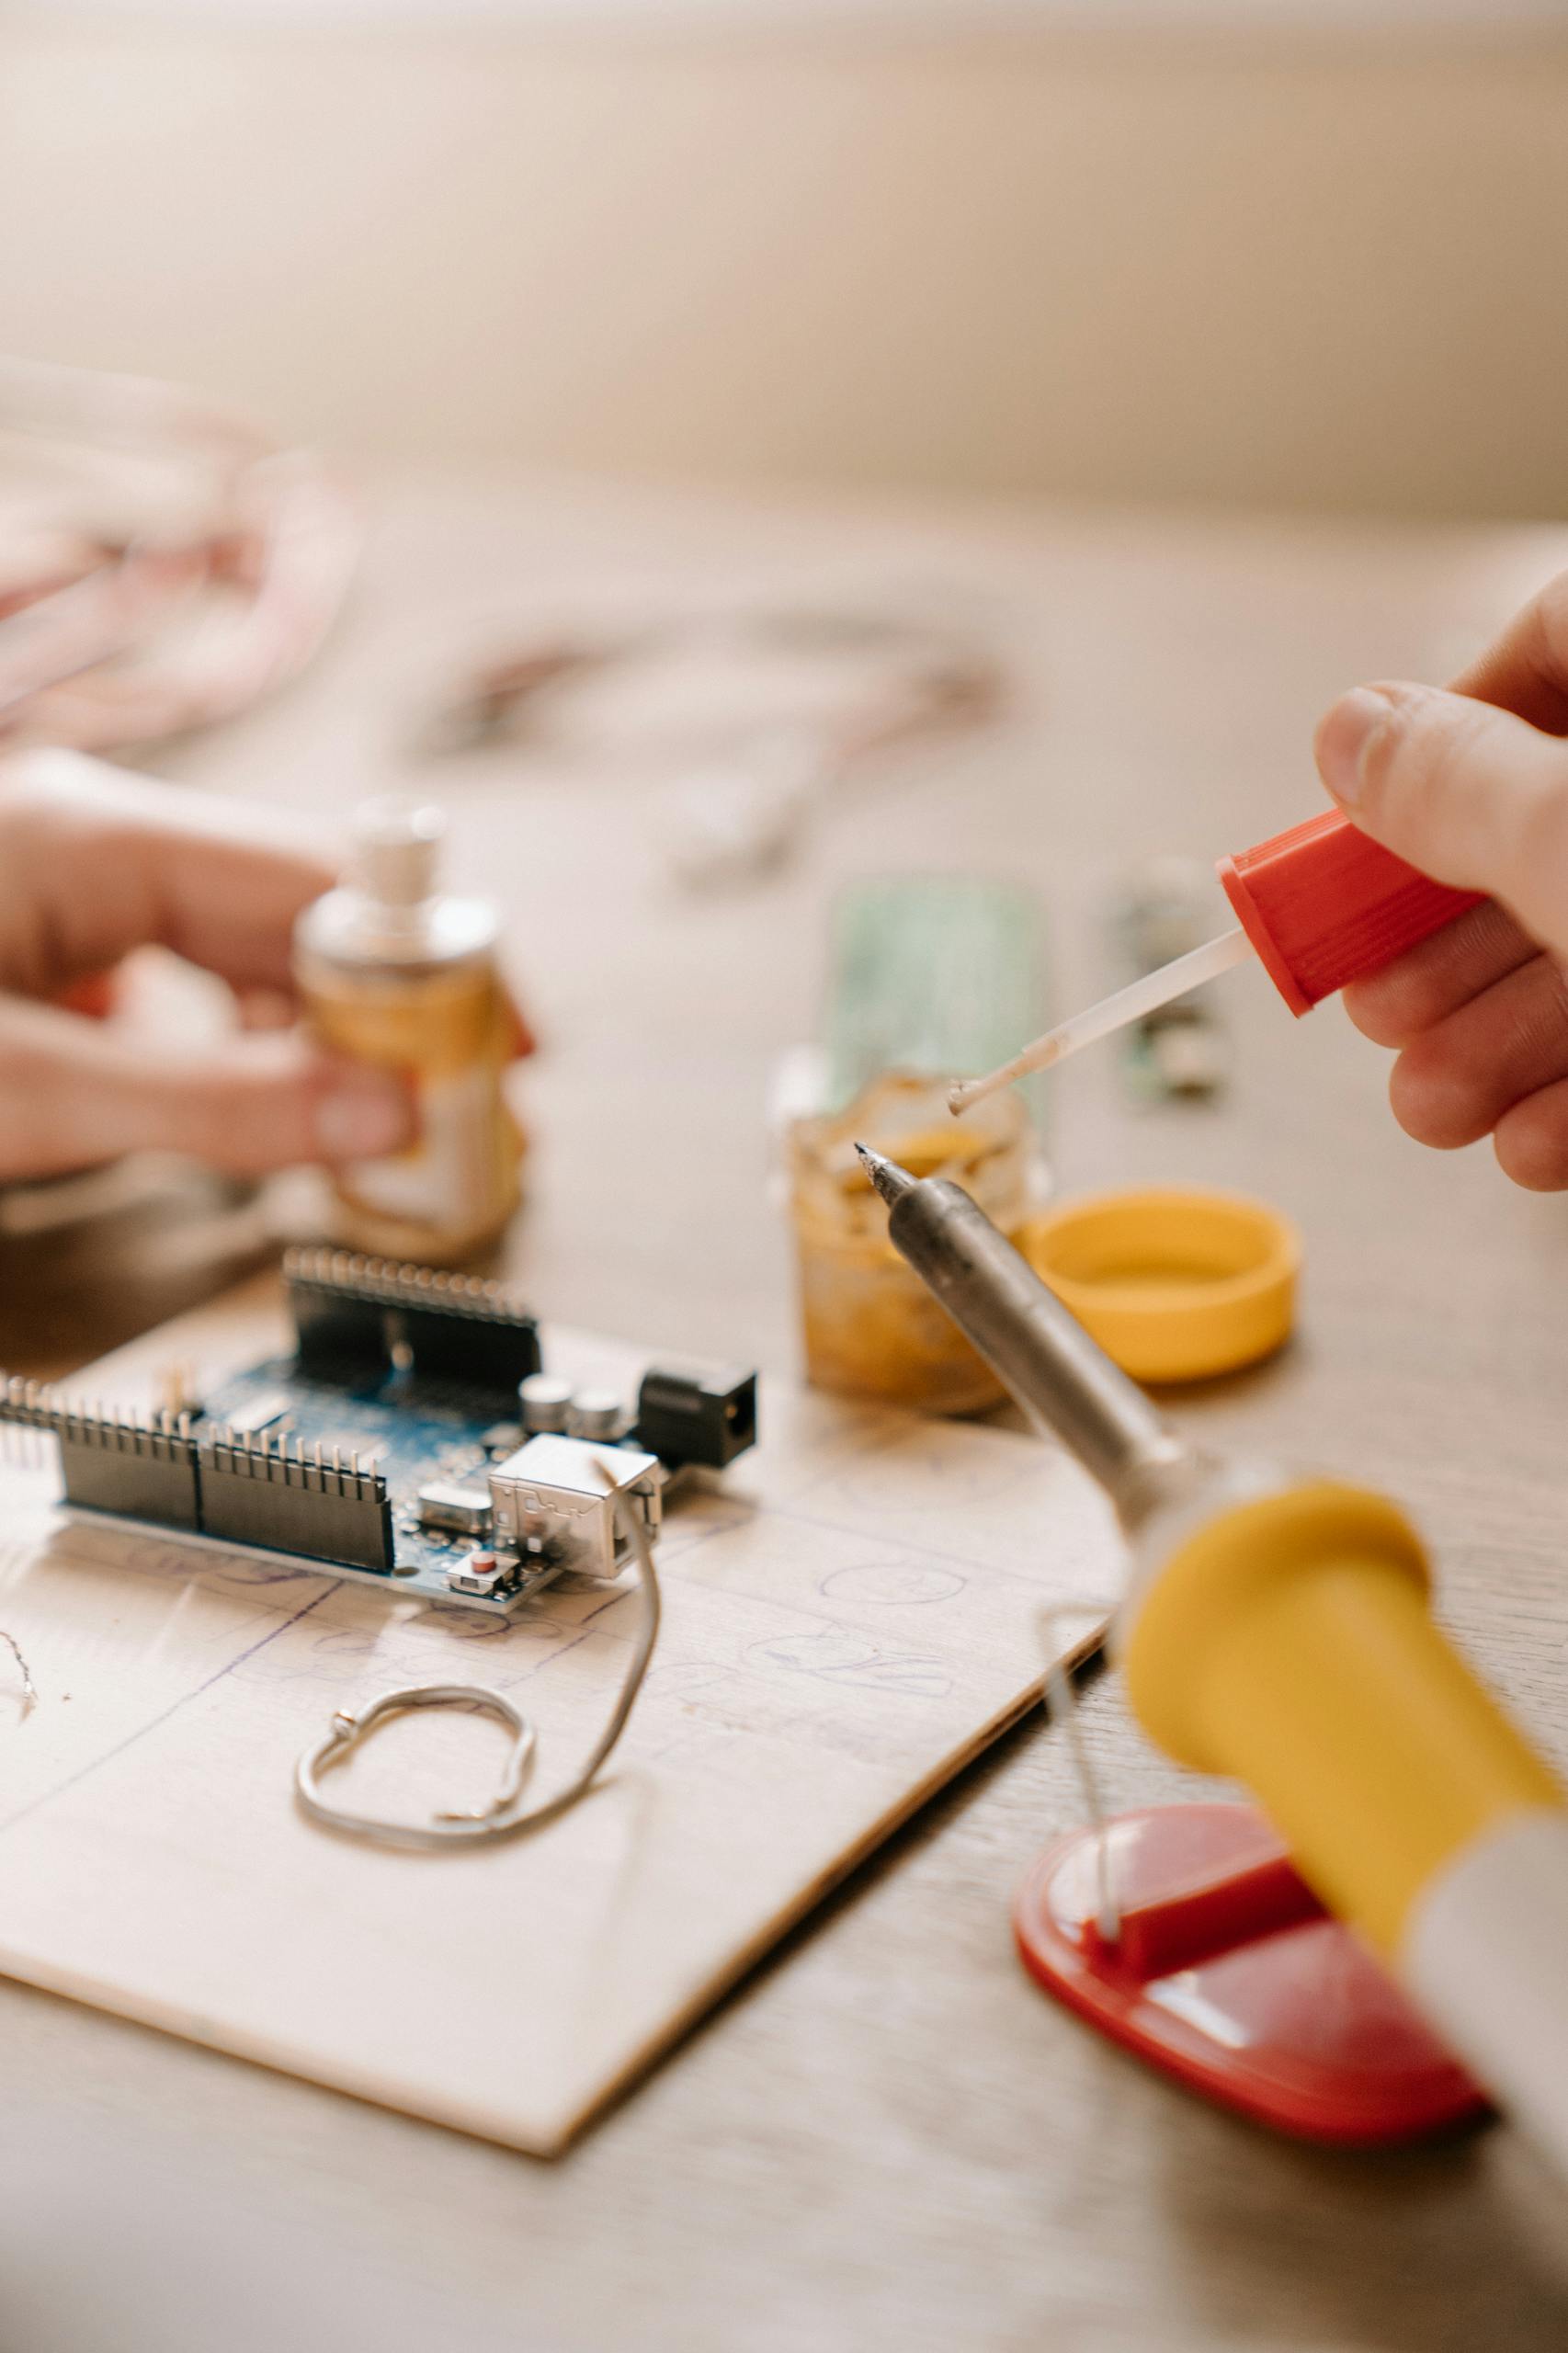
👨🔧 What You’ll Build
A simple device that uses a Light Dependent Resistor (LDR) to measure ambient light levels. Stargazers can use it to check how dark the sky is in their area and track changes over time — helpful for planning telescope sessions.

🧰 Arduino Light Pollution Meter – Parts List
| Component | Search Term | Notes |
|---|---|---|
| Arduino Uno (or Nano) | Arduino Uno R3 board | Uno is great for beginners. Nano works too if you want something smaller. |
| LDR (Light Dependent Resistor) | LDR photoresistor sensor module or LDR with 10k resistor | You can get individual LDRs or modules that are easier to plug into a breadboard. |
| 10k Ohm Resistor | Resistor kit 1/4 watt 10k ohm | Or get a mixed resistor pack if you’re starting out. |
| Breadboard + Jumper Wires | Solderless breadboard with jumper wires | Super useful for this and future projects. |
| 16×2 LCD with I2C Module | 16x2 LCD display I2C for Arduino | Make sure it comes with the I2C module — that saves you 6+ wires. |
| USB Cable for Arduino | Arduino USB cable type B | Some kits come with it, but double-check. |
| Starter Kit (optional) | Arduino beginner kit with LCD and sensors | If you’re new or want extra sensors/tools, go with a full starter kit — many include LDRs, resistors, and displays. |
🧠 How It Works (Simple Explanation)
- The LDR changes its resistance based on light levels.
- Arduino reads this as an analog value (0–1023).
- The LCD display shows this value so you can track how dark your environment is.
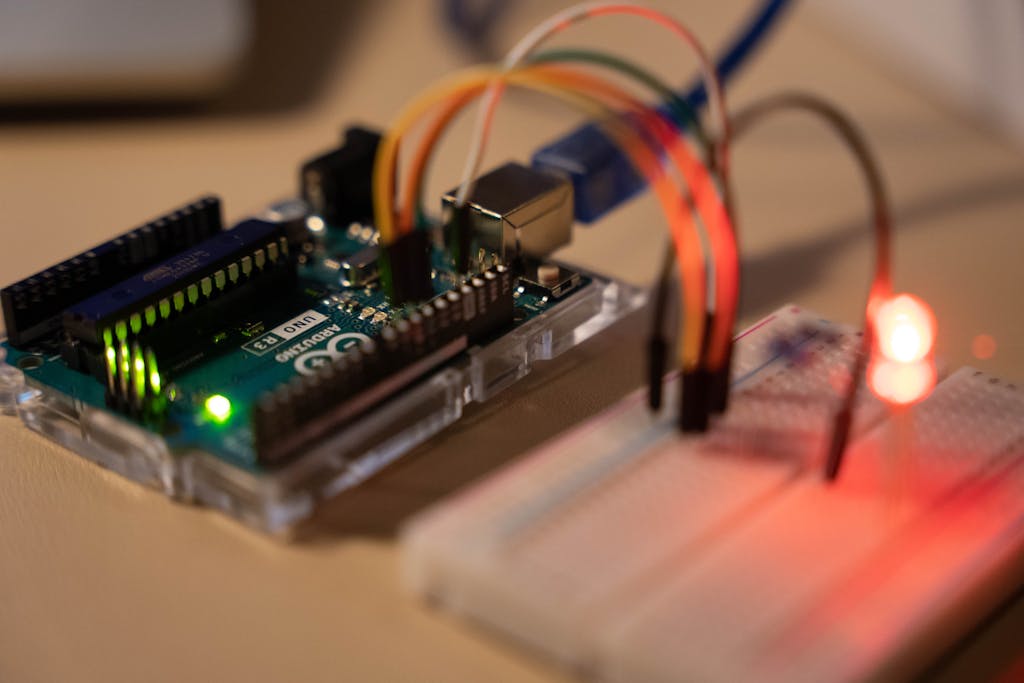
🧱 Wiring Guide
LDR Circuit
- LDR one leg → 5V on Arduino
- LDR other leg → A0 on Arduino and to one leg of 10k resistor
- Other leg of resistor → GND
(This creates a voltage divider circuit.)
LCD Display
If using I2C LCD (easy mode):
- GND → GND
- VCC → 5V
- SDA → A4 (on Uno)
- SCL → A5 (on Uno)
💻 Arduino Code
#include <Wire.h>
#include <LiquidCrystal_I2C.h>

// Set the LCD I2C address and dimensions
LiquidCrystal_I2C lcd(0x27, 16, 2);

int ldrPin = A0;   // Pin connected to LDR
int ldrValue = 0;

void setup() {
  lcd.begin();          // Initialize LCD
  lcd.backlight();      // Turn on backlight
  lcd.setCursor(0, 0);
  lcd.print("LDR Meter Ready");
  delay(2000);
  lcd.clear();
}

void loop() {
  ldrValue = analogRead(ldrPin); // Read light level
  lcd.setCursor(0, 0);
  lcd.print("Light Level:     "); // Clear any old text
  lcd.setCursor(0, 1);
  lcd.print(ldrValue);            // Print the LDR value
  delay(1000);                    // Update every second
}

🔍 How to Use It
- Indoors under room lights: Value = ~600–800
- Outdoors under street lights: Value = ~400–600
- Dark skies or rural night: Value = <200
📈 What to Add Later (Optional Upgrades)
- Now that your light pollution meter is working, you can expand it with:
- 📊 Data logging to SD card or cloud
- 🌦️ Add weather sensors for full sky condition tracking
- 🌕 Include a moon phase display for stargazing planning
- 📡 Use an ESP32 to upload data online
- 🔭 Pair it with a telescope mount for auto-tracking setups
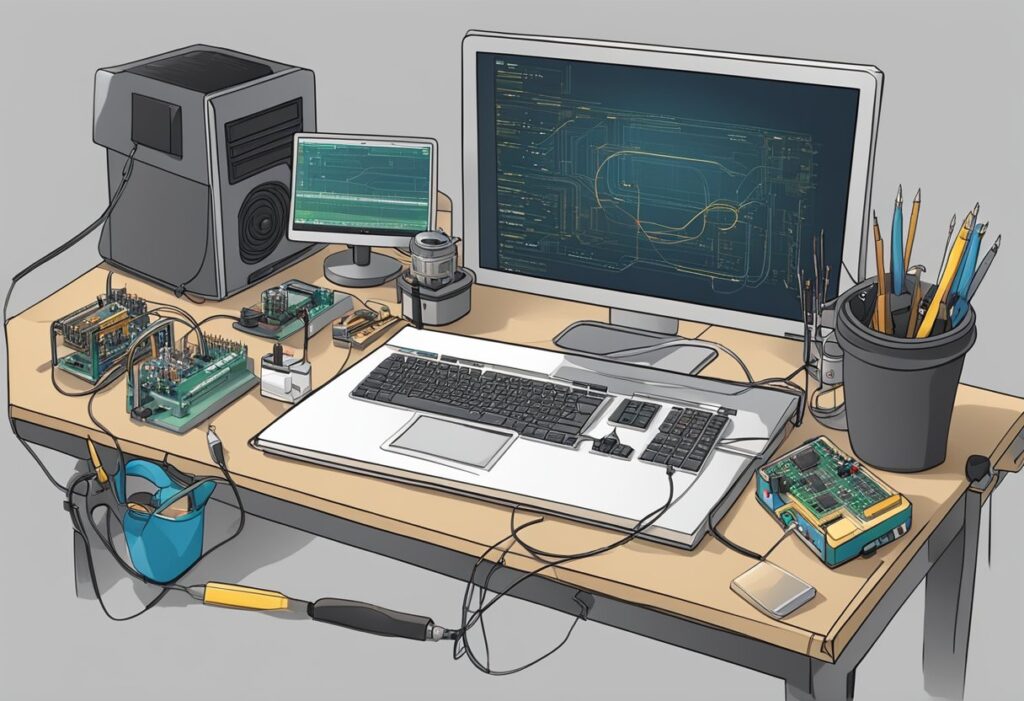
💡 Tips for Finding Good Kits
Look for brands like Elegoo, SunFounder, or Keyestudio.
Check if the kit includes:
LCD + I2C
LDRs
Resistors
Breadboard
Arduino-compatible board
Bonus if it comes with a case or manual!
💬 Final Tips
- Tape the LDR inside a short black straw to prevent ambient side light.
- Point it straight up at zenith for consistent readings.
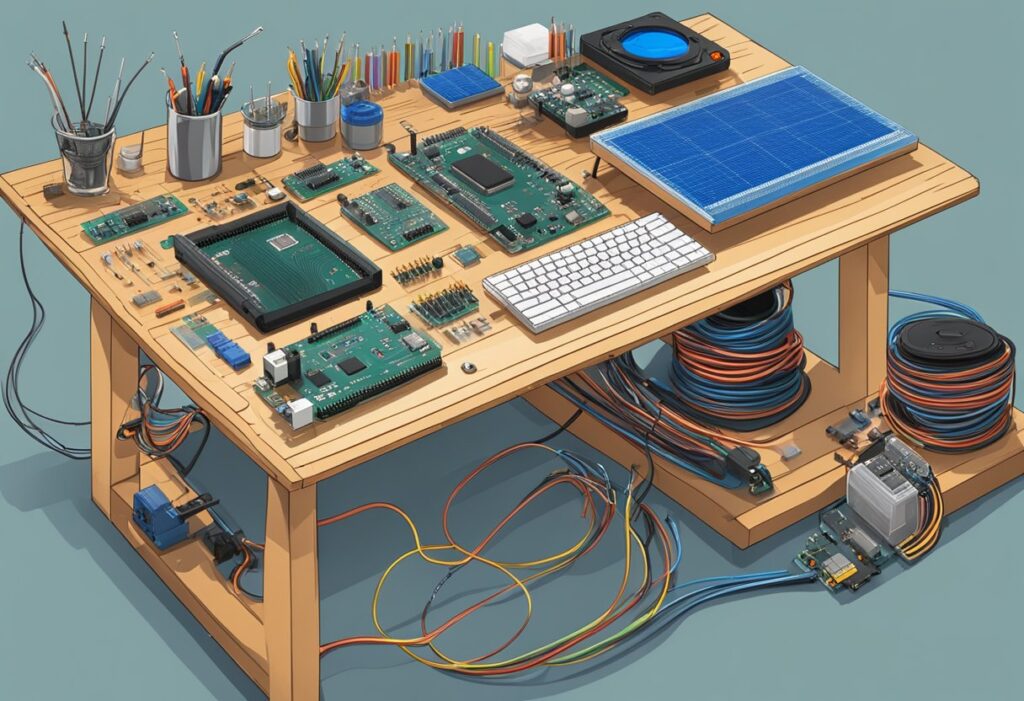
🛠️ Want to Build Your Own Light Pollution Meter?
Everything you need is easy to find, and you can build this project in under an hour.
Grab the components below, follow the step-by-step guide, and start measuring your night sky’s clarity like a real space explorer.
👉 Click here to get the parts on Amazon
🧠 Keep Exploring
This is just the beginning. Arduino is an amazing gateway into coding, electronics, and creative problem-solving. Use this guide as your launchpad — but don’t stop here. Dive into tutorials, experiment with new sensors, and let your curiosity lead the way. The more you build, the more fun it gets.