Arduino Projects for Beginners: Simple and Fun Ideas to Get Started
Exploring the world of electronics can be both exciting and rewarding, especially for beginners interested in microcontrollers. Arduino projects are an excellent starting point for those new to programming and electronics. With a variety of resources available, anyone can find simple projects that spark their creativity and enhance their skills. Whether building a basic LED display or a more complex temperature sensor, each project offers hands-on experience and learning opportunities.
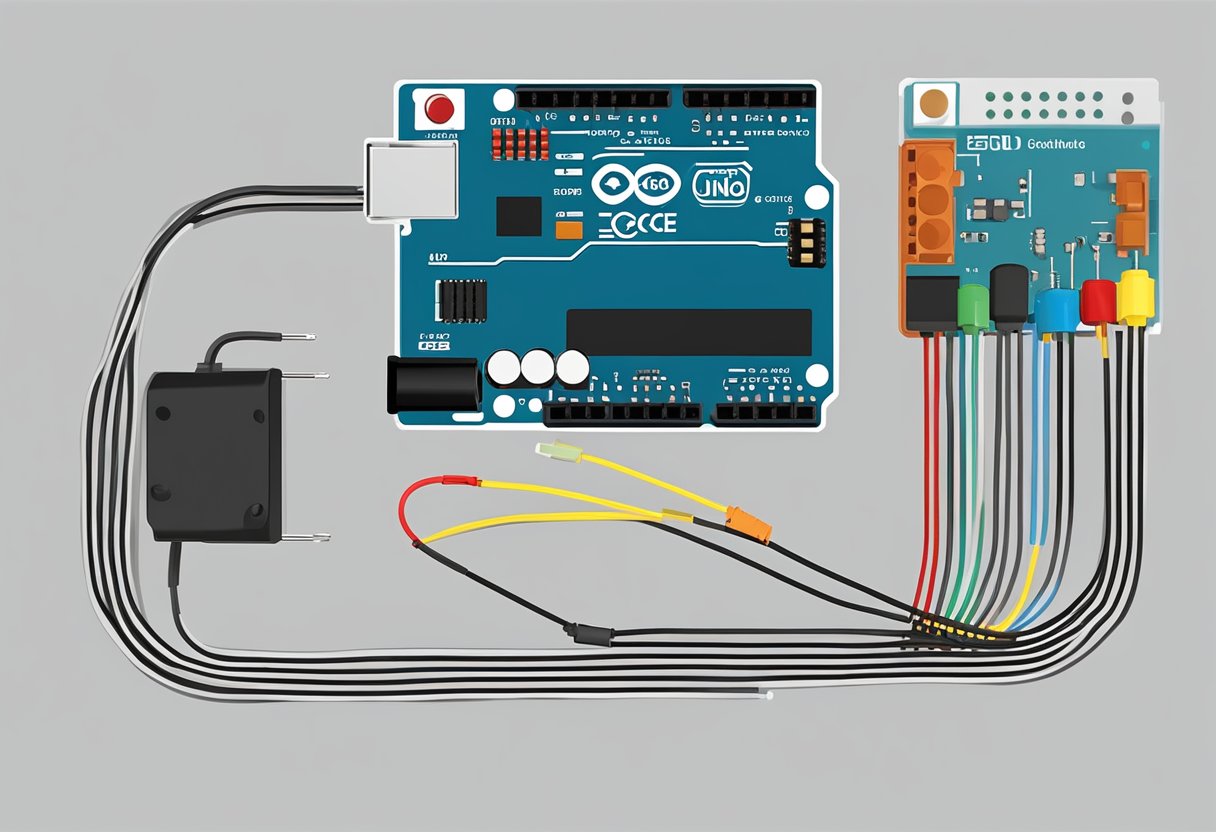
Getting started with Arduino is straightforward. The essential components, such as the Arduino board, sensors, and actuators, can be easily obtained, making it accessible for everyone. Beginners will find that the supportive community and numerous online tutorials add to the enjoyment of this learning journey, encouraging experimentation and innovation.
As individuals progress, they will discover that Arduino allows for both simple and more intricate projects. This versatility not only keeps beginners engaged but also lays the groundwork for advancing their skills in electronics and programming. The possibilities are endless, making Arduino a perfect platform for anyone looking to explore the wonders of technology.
Key Takeaways
- Arduino is perfect for beginners interested in electronics and microcontrollers.
- Simple projects provide a solid foundation for learning programming skills.
- A supportive community enhances the journey of skill advancement and creativity.
Getting Started with Arduino
Arduino is a versatile platform for building electronics projects. It combines hardware and software, making it a great choice for beginners. Understanding the basics, choosing the right board, and learning to use the Arduino Integrated Development Environment (IDE) are key steps.
Understanding the Basics of Arduino
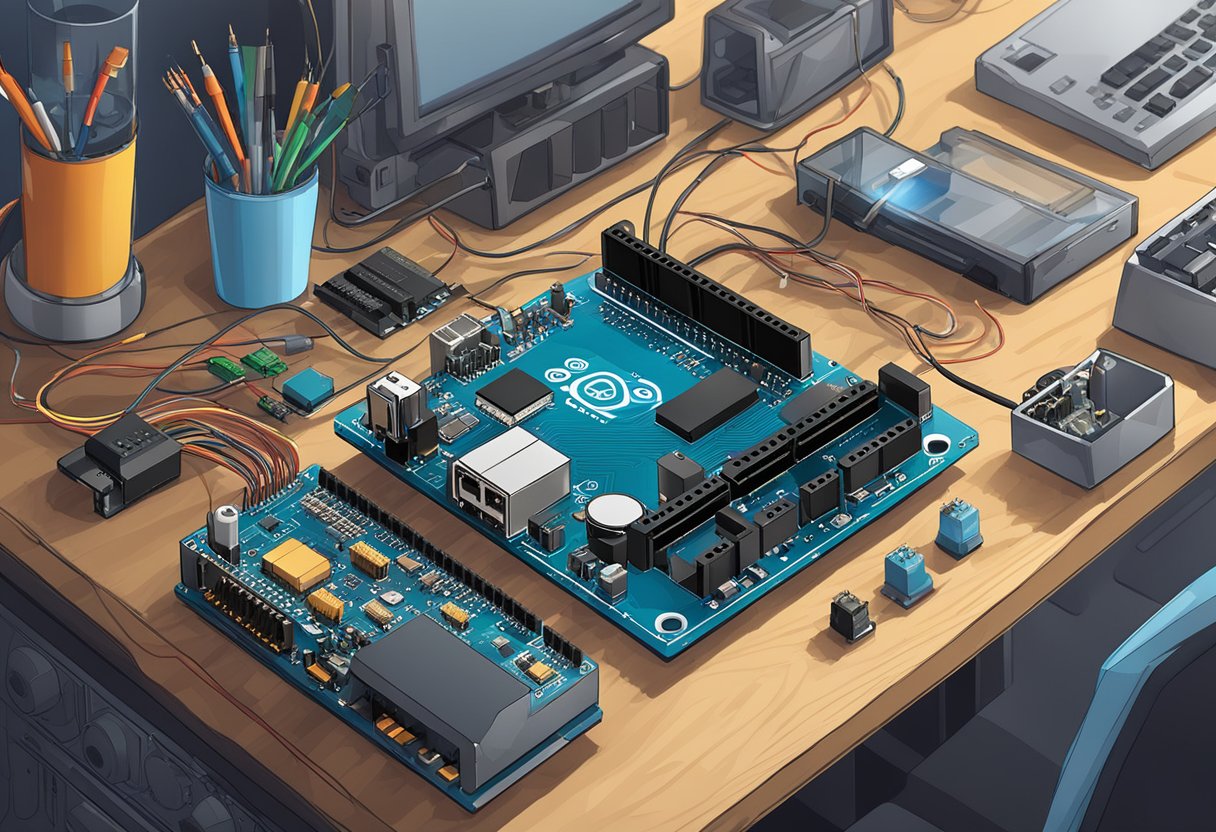
Arduino consists of hardware and software that make creating interactive projects easier. The hardware includes an Arduino board equipped with a microcontroller. Popular choices for beginners are the Arduino Uno, which is user-friendly and widely supported.
Arduino boards allow users to connect various electronic components such as sensors, LEDs, and motors. Programming these boards can be done using the Arduino programming language, which is based on C/C++. This simplicity makes it accessible for those new to coding.
Key components of Arduino include:
- Microcontroller: The brain of the Arduino board, executing code.
- Digital and Analog Pins: Allow for input from and output to devices.
- Power Supply: Provides the necessary energy for the board and connected components.
Choosing Your First Arduino Board
Selecting the right Arduino board is crucial for beginners. The most common option is the Arduino Uno. It is equipped with 14 digital input/output pins, six analog inputs, and a USB connection for programming.
Other options include the Arduino Nano, which is smaller and ideal for compact projects, and the Arduino Mega, which has more pins for larger projects. Beginners should consider the type of projects they want to build when choosing a board.
When getting started, ensure that the selected board comes with an adequate starter kit, which may include sensors and other components. This convenience can help speed up the learning process.
The Arduino Integrated Development Environment (IDE)
The Arduino IDE is a vital tool for programming Arduino boards. This software allows users to write, compile, and upload code directly to the board. It is beginner-friendly, featuring a simple interface with clear navigation.
To get started, users must download the IDE from the official Arduino website. After installation, they can access example sketches (pre-written code) that illustrate basic functions. This is an excellent way to learn how to write their own code.
Key features of the Arduino IDE include:
- Code Editor: Where users write their sketches.
- Library Management: Helps users easily include code libraries for various components.
- Serial Monitor: Allows interaction with the board through a console interface.
Familiarity with the Arduino IDE is essential to effectively developing projects and expanding skills in electronics.
Essential Arduino Components
Understanding key components is crucial for anyone starting with Arduino projects. This section delves into important electronic parts, various sensors and actuators, and the basics of circuit diagrams.
Electronic Components and Their Functions
Electronic components are the building blocks of any Arduino project. Key components include resistors, capacitors, and diodes.
- Resistors limit the flow of current and protect sensitive parts.
- Capacitors store electrical energy and help smooth out voltage fluctuations.
- Diodes allow current to flow in one direction, preventing damage from reversing currents.
Other vital components are microcontrollers like the Arduino board itself. They process inputs from various devices and control outputs. Each component has a specific role, and knowing these functions aids in circuit design.
Sensors and Actuators
Sensors detect environmental changes and send data to the microcontroller. Common sensors include:
- Temperature sensors, which measure ambient temperature.
- Humidity sensors, capturing moisture levels in the air.
- Light sensors that detect ambient light conditions.
Actuators are motors or devices that implement actions based on sensor data. For instance, a servo motor can adjust position based on input from a temperature sensor.
Together, sensors and actuators enable projects to interact with the world. Understanding their functions is key to creating effective Arduino applications.
Understanding Circuit Diagrams and Connections
Circuit diagrams visually represent how components are connected. A simple diagram consists of symbols for each component linked by lines, showing current flow paths.
Each symbol has a specific meaning. For example:
- A straight line represents a wire connection.
- A zigzag line signifies a resistor.
Learning to read and create circuit diagrams simplifies project assembly and troubleshooting.
Connecting components correctly is crucial for functionality. It ensures that the power supply flows as intended and all parts operate efficiently. Proper diagrams lead to successful experiments and projects.
Basic Arduino Projects
Arduino provides an excellent platform for beginners to explore electronics and programming. The following projects are simple yet effective ways to develop skills with Arduino boards.
Creating a Digital Clock
A digital clock project is a perfect starting point for beginners. It shows real-time and uses basic components like an Arduino board, a real-time clock (RTC) module, and a display, often an LCD or seven-segment display.
Components Needed:
- Arduino board (like Arduino Uno)
- RTC module (e.g., DS1307)
- LCD or seven-segment display
- Jumper wires
- Breadboard
Steps:
- Connect the RTC module to the Arduino.
- Set up the display to show time.
- Use libraries such as
RTClibfor the RTC andLiquidCrystalfor the display.
By using this project, beginners will learn about timekeeping and display programming, which are essential skills for more complex projects.
Building a Simple Temperature Monitoring System
This project involves creating a temperature monitoring system using an Arduino board and a temperature sensor, like the LM35 or DHT11. It allows users to see temperature changes in real-time.
Components Needed:
- Arduino board
- Temperature sensor (e.g., DHT11)
- LCD display (optional)
- Jumper wires
Steps:
- Connect the temperature sensor to the Arduino.
- If using an LCD, connect it to display the temperature.
- Write a simple code to read temperature values and display them.
This project helps beginners understand sensor interfacing and data display. It is a foundation for more complicated monitoring systems, making it a valuable learning experience.
Making a Mini Fan Control System
With a mini fan control system, users can automate a fan based on temperature conditions. This project introduces basic concepts of control systems.
Components Needed:
- Arduino board
- Relay module (to control the fan)
- Temperature sensor (e.g., LM35)
- Mini fan
- Jumper wires
Steps:
- Connect the temperature sensor to the Arduino.
- Use a relay module to control the fan.
- Write code that turns the fan on or off based on temperature readings.
This project teaches beginners about automation and basic control logic, making it an engaging and practical introduction to Arduino projects.
Intermediate Arduino Endeavours
For those looking to advance their skills, intermediate Arduino projects offer thrilling challenges. These endeavours expand one’s understanding of electronics and programming while fostering creativity.
Crafting a Home Automation System
Developing a home automation system with an Arduino board can be both exciting and practical. This system allows users to control various devices in their home remotely. Common examples include lights, fans, and security cameras.
An Arduino Uno board is perfect for this project. The builder can connect relays to manage appliances and sensors to monitor conditions like temperature and humidity. Using libraries like Blynk or MQTT, they can create a user-friendly interface to control everything from a smartphone.
When designing the system, ensure to consider security features. Protecting the network from unauthorised access is crucial for safety.
Developing a Robot with Arduino
Creating a robot using an Arduino can be a rewarding experience. These robots can range from simple line-following bots to more complex autonomous machines.
The essential components include motors, wheels, and sensors. For instance, ultrasonic sensors help the robot navigate its environment. The Arduino Uno acts as the brain, processing sensor data and making real-time decisions.
When programming, it is essential to manage the robot’s movement and behaviour carefully. This often involves using functions to handle inputs from sensors and outputs to motors. As the robot interacts with its surroundings, it will learn to adapt based on its programming.
Integrating Arduino with Different Gadgets
Another interesting project involves integrating Arduino with various gadgets. This allows users to enhance existing devices or create new functionalities.
For example, one could link an Arduino Uno to a weather station. By adding temperature and humidity sensors, the user can gather live data. This data can then be displayed on an LCD screen or sent to a web server.
Moreover, connecting Arduino to smart devices like lights or locks opens many possibilities. With proper coding, these gadgets can work together, allowing for a seamless smart home experience. Users can automate routines based on time or sensor readings, making their lives easier.
Programming Fundamentals
Programming for Arduino involves understanding key coding principles, effectively using libraries, and debugging code. Grasping these fundamentals will aid beginners in creating functional and efficient projects.
Coding Principles for Arduino
Coding for Arduino involves using the Arduino IDE, which simplifies writing and uploading code to the board. Beginners should focus on the basic structure of an Arduino sketch, which includes two main functions: setup() and loop().
setup(): This function runs once at the start. It’s used to initialise variables and set pin modes for sensors.loop(): This function runs repeatedly. It contains the core logic of the program, allowing for continuous input and output operations.
Understanding data types, such as integers, floats, and strings, is essential for manipulating variables. Familiarity with conditional statements (if, else) and loops (for, while) increases programming fluency.
Working with Libraries
Libraries in Arduino are pre-written code that simplify complex tasks. They help manage sensors, motors, and other hardware with ease. To use a library, it must first be included in the sketch by using the #include directive.
Popular libraries include:
- Wire.h: For I2C communication with sensors.
- Servo.h: For controlling servo motors.
- SPI.h: For SPI communication.
Beginners should explore the Library Manager in the Arduino IDE to find and install libraries relevant to their projects. Using libraries saves time and effort while ensuring code reliability.
Debugging Your Code
Debugging is crucial in programming. It involves identifying and fixing errors in the code. Beginners can use the Serial Monitor in the Arduino IDE for this purpose.
Steps to Debug:
- Print Statements: Insert
Serial.print()statements to track variable values and program flow. - Check Connections: Ensure that all sensors and components are properly connected.
- Error Messages: Pay attention to error messages in the IDE, which often indicate where problems lie.
By following systematic debugging practices, beginners can enhance their coding skills and build more robust Arduino projects.
Practical Tips for Success
Successful Arduino projects start with having the right tools, picking the appropriate power supply, and maintaining safety. These practical tips will help anyone new to Arduino navigate their learning process effectively.
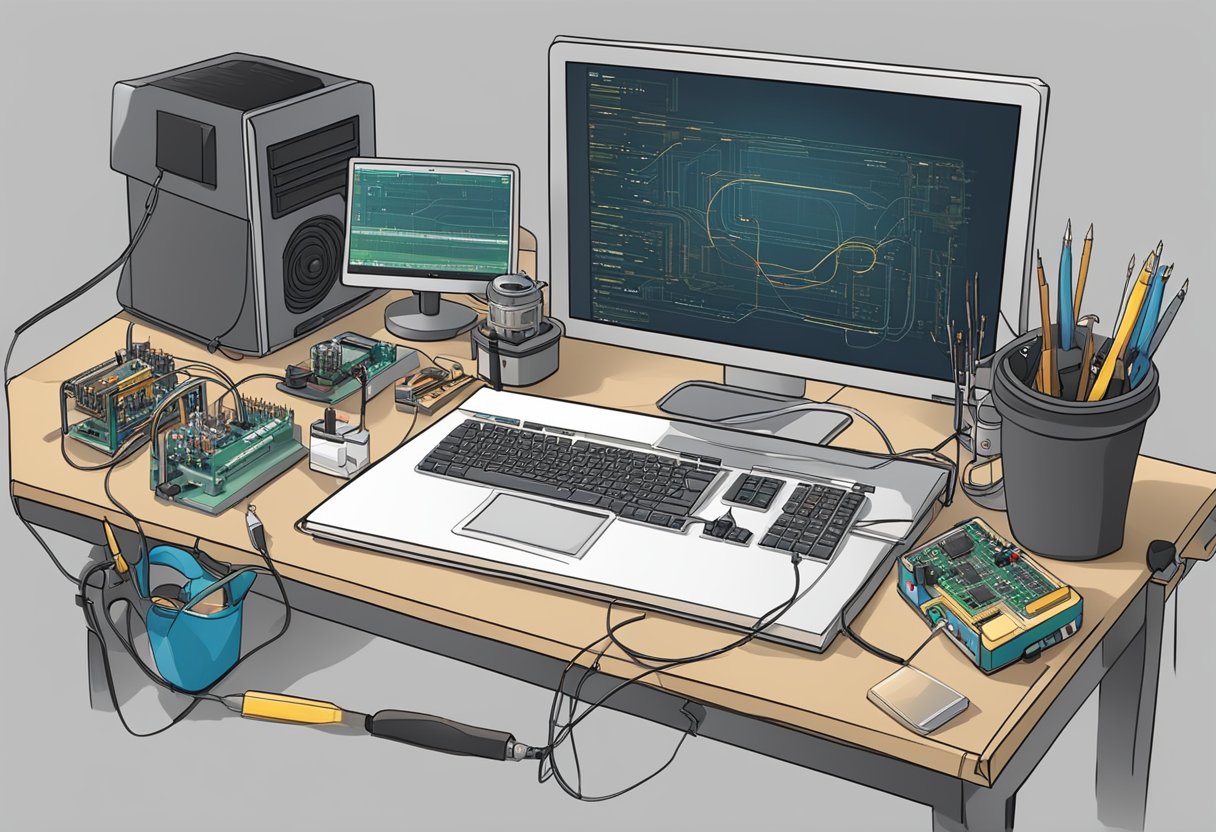
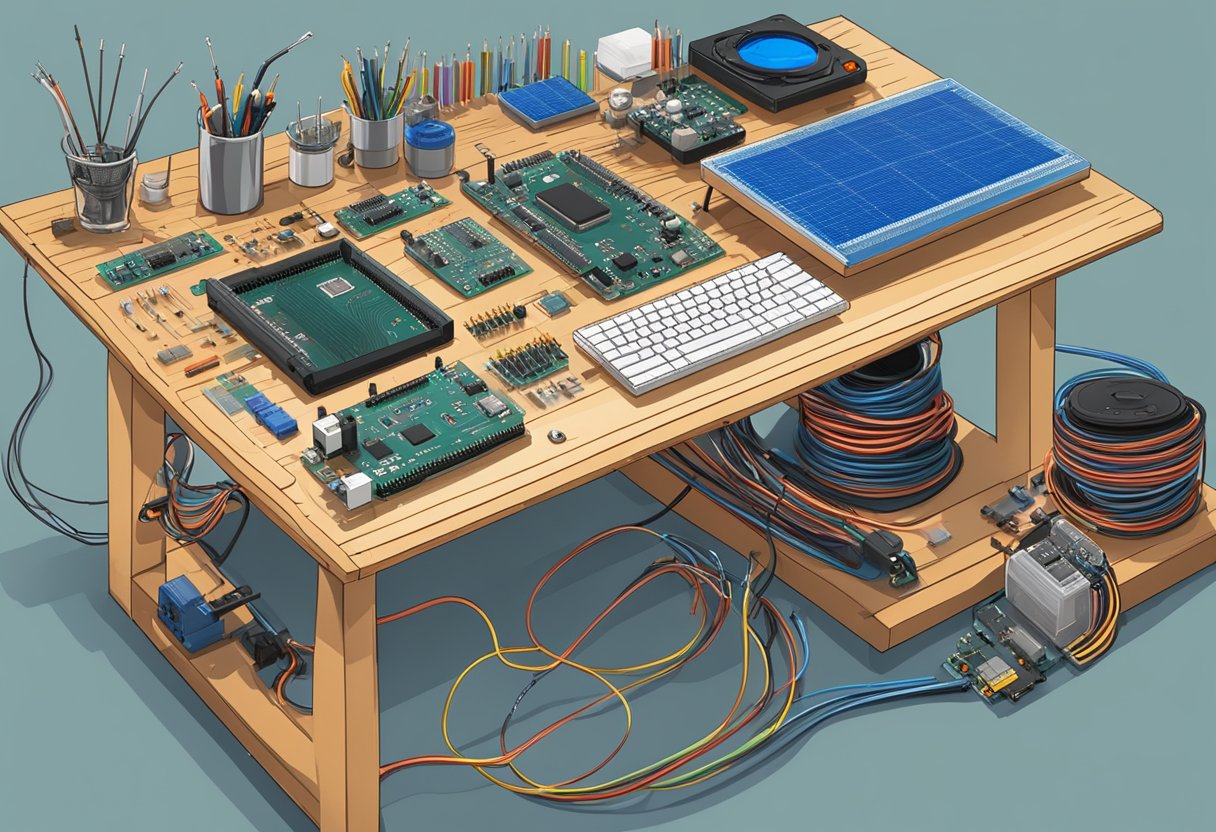
Essential Tools for Arduino Projects
For beginners, a starter kit is highly recommended. Most starter kits include an Arduino board, a variety of sensors, and essential components such as resistors and LED lights. This equipment ensures the learner has everything needed to begin experimenting.
Key tools to consider include:
- Breadboard: This allows for easy connections and changes without soldering.
- Jumper wires: These are necessary for making connections across components.
- Multimeter: It helps measure voltage, current, and resistance to troubleshoot problems.
Having these tools readily available ensures that the project setup is efficient and productive. For parents supporting their children’s learning, investing in a beginner kit can be a cost-effective choice since it typically includes all necessary components.
Choosing the Right Power Supply
Selecting the correct power supply is crucial for project stability. Most Arduino boards can run on USB power or an external power source. For those beginning, using a USB connection from a computer is straightforward.
For projects needing portability, a battery pack or power adapter designed specifically for Arduino can be useful. Here are some options:
- USB Power Banks: Convenient for outdoor projects or remote setups.
- Wall Adapters: Ensure the voltage and current ratings match the board’s specifications.
Always check compatibility to avoid damaging the board. This attention to detail will save time and resources.
Safety Precautions and Maintenance
Safety is paramount when working with electronics. Here are essential tips to promote a safe working environment:
- Work in a clean area: Reduces the risk of losing small components or creating hazards.
- Avoid short circuits: Double-check connections before powering up the circuit.
- Use safety glasses: Protects eyes from flying debris when working with components.
Regular maintenance extends the life of the equipment. Keep the work area tidy, and store components properly to prevent damage. Additionally, ensure that all connections are secure and check for any signs of wear or damage on wires and components. This care will help keep projects running smoothly.
Advancing Your Arduino Skills
As beginners become more comfortable with Arduino, they can start exploring advanced components and techniques that enhance their projects. This section highlights key areas for skill development, focusing on sensors, relays, and strategies to optimise projects.
Exploring Advanced Sensors and Shields
Advanced sensors can significantly enhance an Arduino project. For example, the temperature and humidity sensor module allows for environmental monitoring, which is useful in weather stations or automated systems. Other advanced sensors include ultrasonic distance sensors and light sensors.
Using shields can also simplify the project setup. Shields are circuit boards that attach directly to Arduino boards, adding functionality like Wi-Fi, GPS, or motor control. These components enable more complex projects, such as a remote-controlled car or a smart home system, by allowing easy integration of multiple features.
Learning About Relays and Controls
Relays are crucial when controlling high-voltage devices safely. They act as switches that can be controlled by the low-voltage output of an Arduino. By using relays, one can control lamps, motors, and other heavy equipment with ease.
There are different types of relays, like electromagnetic and solid-state. Understanding their functions helps in deciding which type to use for various applications. This knowledge is vital when building projects that require more power than the Arduino can provide.
Project Optimisation Strategies
Optimising an Arduino project involves improving its efficiency and performance. One strategy is to use actuators effectively. Actuators convert electrical signals into physical motion, making them essential for robotics and automation.
Another important aspect is code optimisation. Writing clean, efficient code reduces memory usage and increases processing speed. Techniques like modular programming and reducing delays in code flow ensure that projects run smoothly.
Lastly, keeping a record of what components work best and what modifications improve functionality helps in future projects. Documentation aids in troubleshooting and makes replicating projects much easier.
Frequently Asked Questions
This section addresses common questions about starting Arduino projects for beginners. It covers straightforward project ideas, resources for finding projects, and considerations for sensor integration and selling products.
What is the most straightforward project for a beginner to start with on Arduino?
One of the easiest projects for beginners is the LED blink project. It involves connecting an LED to an Arduino board and programming it to blink at regular intervals. This project helps users understand basic programming and circuit design.
How can I find beginner-friendly Arduino projects that include source code?
Many websites provide beginner-friendly Arduino projects with complete source code. Platforms like Arduino’s official site and GitHub host numerous examples. These resources often include detailed instructions, making it easy for beginners to follow along.
Where can I download Arduino projects suitable for beginners in PDF format?
Beginners can download Arduino projects in PDF format from various educational and community websites. One notable resource is the Arduino for Dummies guide, which offers a collection of projects that are easy to follow.
Can you suggest some introductory Arduino projects that incorporate sensors?
Beginners can start with simple sensor projects, such as a temperature sensor or a light sensor. These projects teach foundational concepts in data collection and processing. Using sensors helps users learn how to interact with the physical environment effectively.
What are some ideal Arduino project ideas for school students?
Projects like a simple alarm system or a digital thermometer are perfect for school students. These projects are engaging and educational, helping students grasp basic electronics and programming skills. They can also inspire teamwork and creativity.
Is there a legal framework to be aware of when selling Arduino-based projects?
When selling Arduino-based projects, it is essential to consider copyright and patent laws. It is important to ensure that any software code or hardware designs used are not infringing on existing patents or copyrights. Understanding these laws helps protect creators and their work.
Everything you need to get started with Arduino for beginners